Post by keiji22 on Jul 20, 2006 14:20:57 GMT -5
Ok, this was about a two hour job. Being my first time using masking and everything. I'll clean it up later with some touch up paint and pin-striping. But it was fairly easy as far as I'm concerned.
Step 1) Remove and Clean your engine cover. The removal tool to use is a 5mm Allen Wrench. Thats Metric. Make sure that you get all dust, oils, grease and whatnot off of your cover.
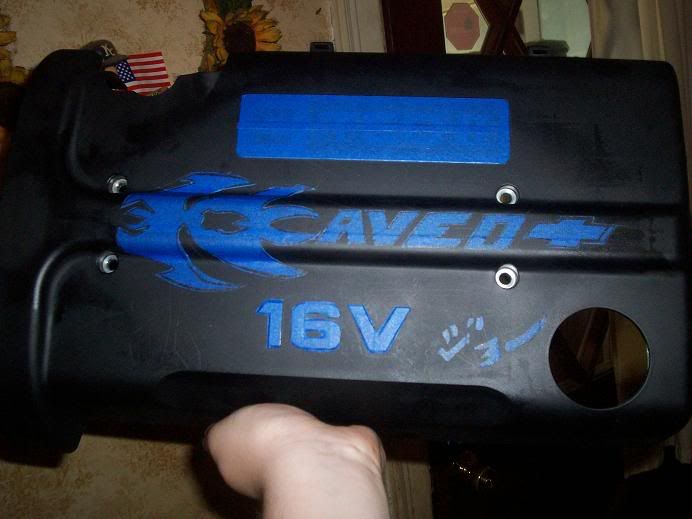
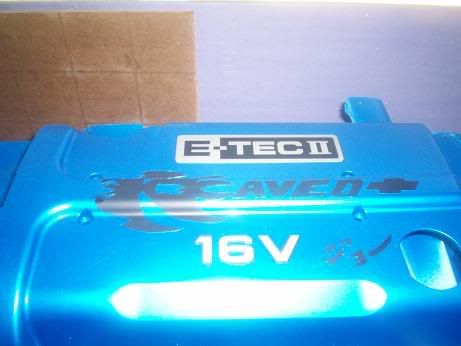
Step 2) MASKING! I masked off my E-TECII section and 16V section first.

Step 3) MORE MASKING! I then, masked off my own custom design. (I know, this is just a cheap way of doing things.) But no one else has done this, aparently.
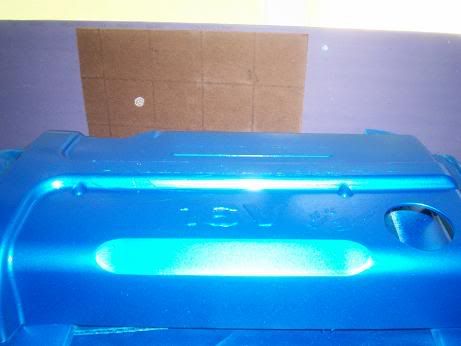
Step 4) PAINT! I did a total of 5 coats of a bright metallic blue DUPLICOLOR paint. This paint code I got from a Toyota Tundra I saw.
Step 5) If you find yourself getting high... which is very dangerous especially with this type of paint, find a filtered mask and eye protection. I sat there during the first three coats wondering why I was getting dizzy feeling...
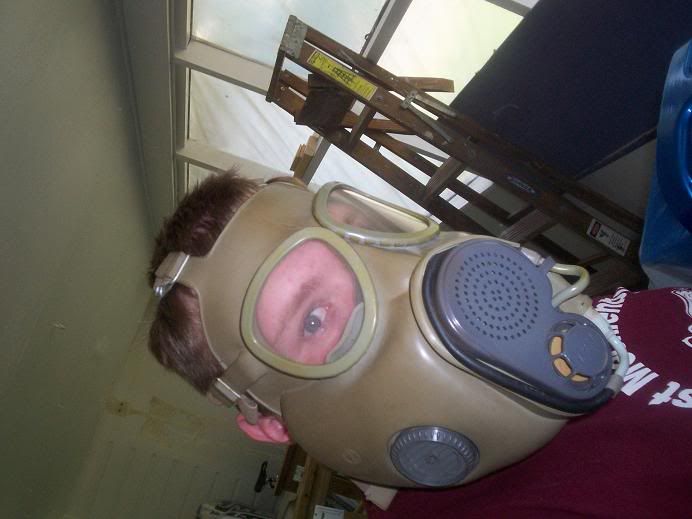
Step 6) Peeling off the masking tape. Oh boy... this was frustrating. Its about 90ºF outside, I'm wearing a gas mask and sweating bullets. But I finally got it.
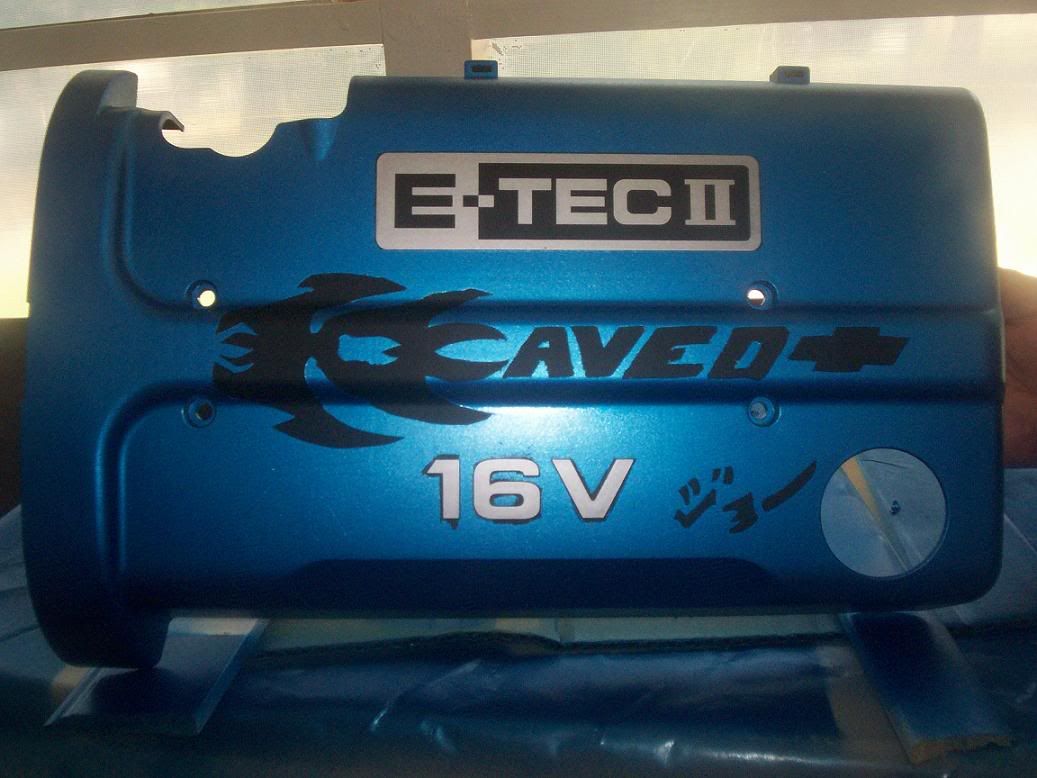
Step 7) Clear Coat. In order for it to look professional (or something similar) use a high gloss clear coat. Spray can of course.
Step 8) Reinstalling. Simply place back into your engine bay. Then use something to whipe it down. The Clear coat kinda leaves a powdery residue. I just waited for it to dry. Then I Armor-All'd it a little to make it pretty. And tada... finished product.
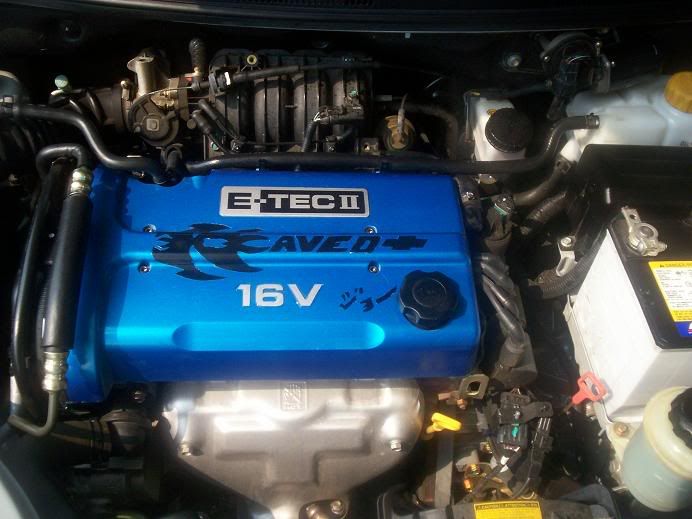
Its a bit of an amateur job, but it looks great in my opinion. I could've left the design off though. But oh well.
Step 1) Remove and Clean your engine cover. The removal tool to use is a 5mm Allen Wrench. Thats Metric. Make sure that you get all dust, oils, grease and whatnot off of your cover.
Step 2) MASKING! I masked off my E-TECII section and 16V section first.
Step 3) MORE MASKING! I then, masked off my own custom design. (I know, this is just a cheap way of doing things.) But no one else has done this, aparently.
Step 4) PAINT! I did a total of 5 coats of a bright metallic blue DUPLICOLOR paint. This paint code I got from a Toyota Tundra I saw.
Step 5) If you find yourself getting high... which is very dangerous especially with this type of paint, find a filtered mask and eye protection. I sat there during the first three coats wondering why I was getting dizzy feeling...
Step 6) Peeling off the masking tape. Oh boy... this was frustrating. Its about 90ºF outside, I'm wearing a gas mask and sweating bullets. But I finally got it.
Step 7) Clear Coat. In order for it to look professional (or something similar) use a high gloss clear coat. Spray can of course.
Step 8) Reinstalling. Simply place back into your engine bay. Then use something to whipe it down. The Clear coat kinda leaves a powdery residue. I just waited for it to dry. Then I Armor-All'd it a little to make it pretty. And tada... finished product.
Its a bit of an amateur job, but it looks great in my opinion. I could've left the design off though. But oh well.